DIY Cardboard Knight Costume: 60-Min Cardboard Build
Time60 minEffortMedium
⏱️ We timed it, but results may vary.
Plan this costume →No signup · 2 minutes.
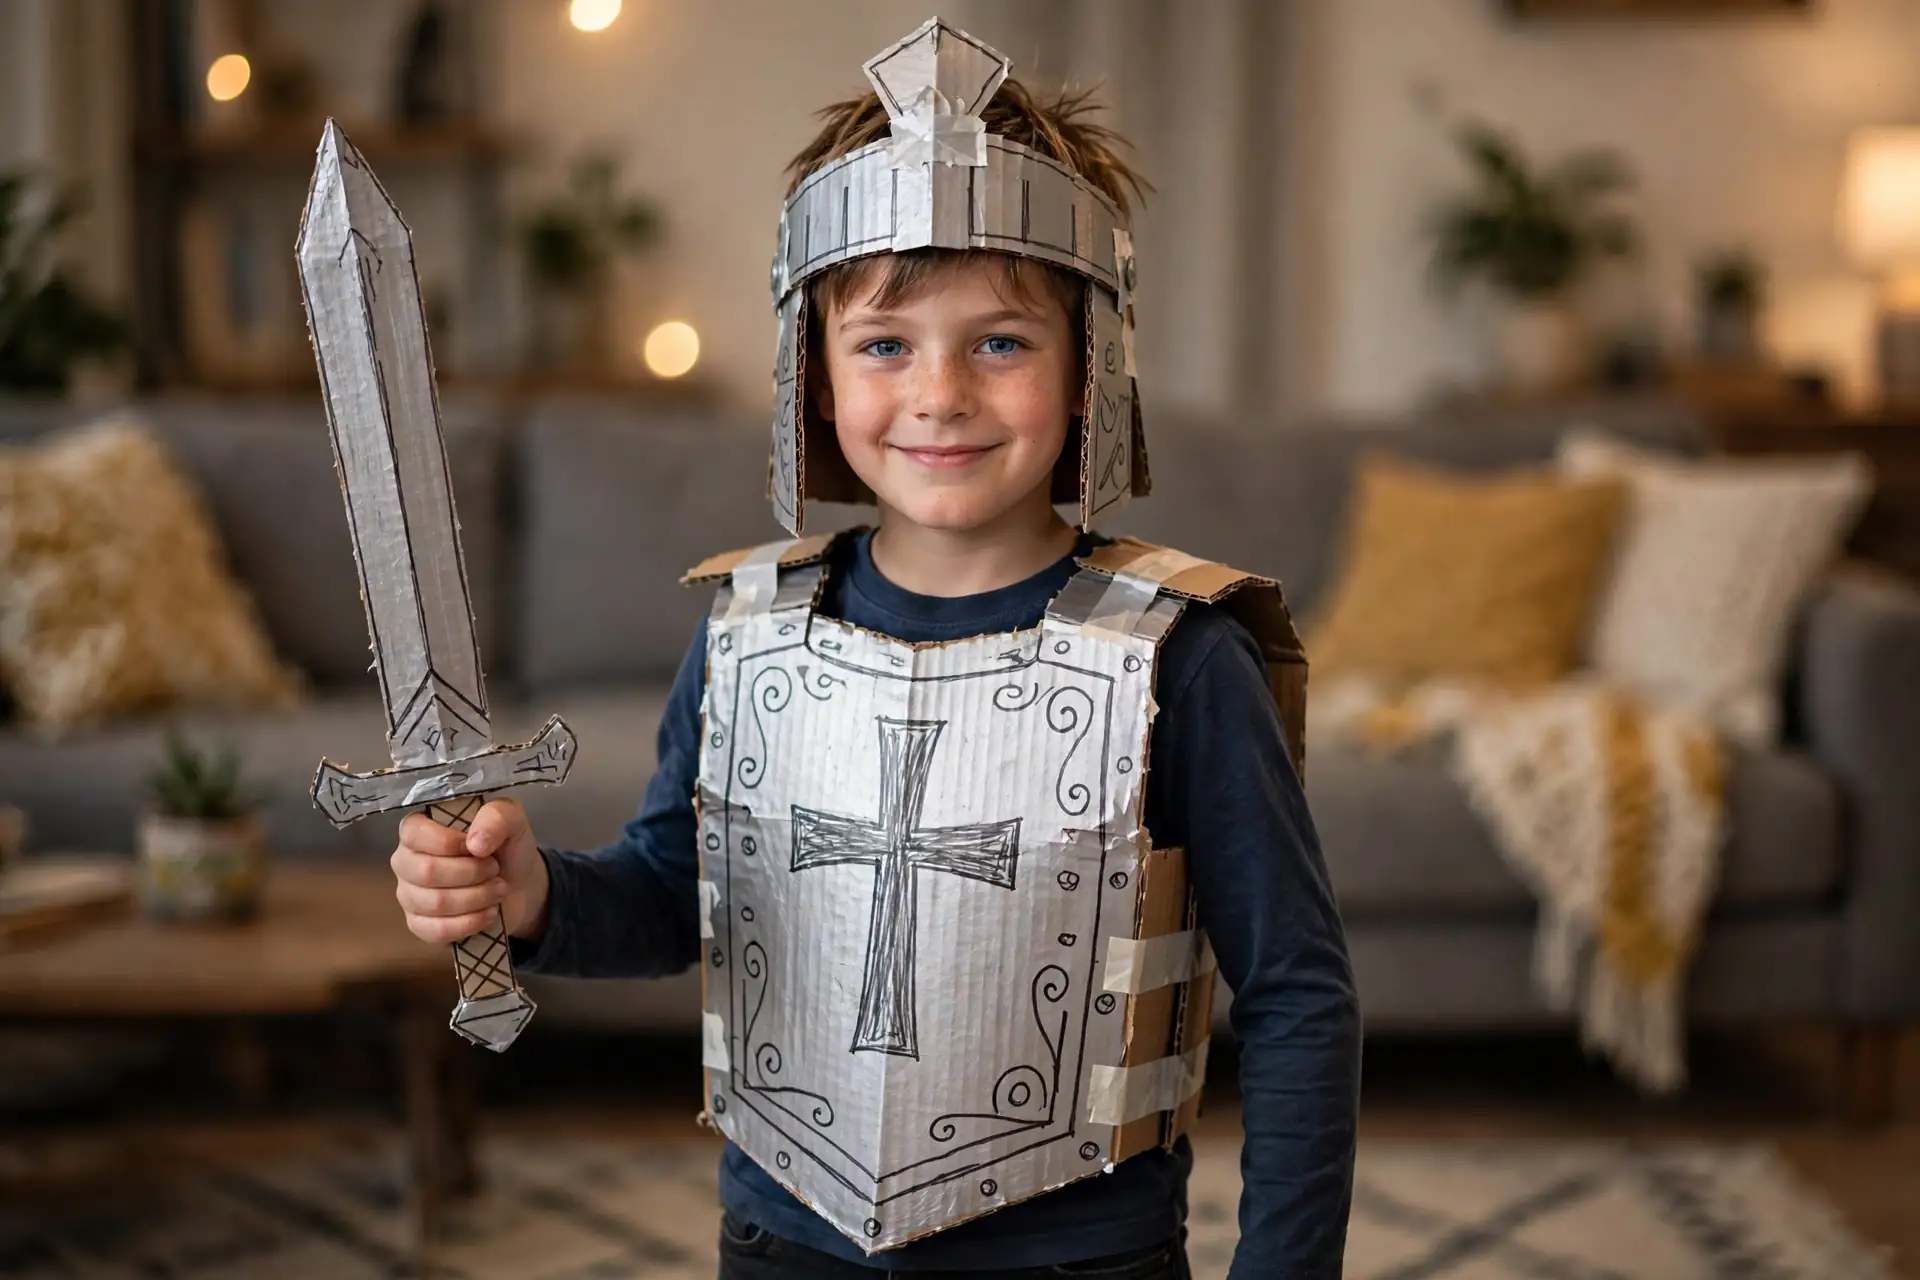
Silver-painted cardboard armor and a pool-noodle sword. The armor shines, the sword is soft enough for actual duels. About sixty minutes, a medium build: large cardboard boxes, silver acrylic paint, and a foam brush. Score the cardboard before folding so the armor bends instead of cracking.
3 of 7 things covered, counting basics we assume you have.
Tap a supply to tick what you own.
Still need:
Tip: tape a red crepe-paper plume to the helmet top.
Steps
- Safety: An adult should handle the heavy cutting. Cut generous eye holes in the helmet so vision stays clear. (CPSC Halloween safety tips)
- Draw every piece on the cardboard before cutting: chest plate, back plate, shoulders, helmet.
- Cut the helmet eye holes wide. Cardboard cannot be added back.
- A knight who cannot see is a hazard.
- Cut all the pieces.
- Paint every armor piece silver.
- Let the paint dry fully.
- Add rivet dots and edge lines with the black marker.
- Tape the plates together so they hinge at the shoulders.
- Wrap the pool noodle in gray duct tape for the sword.
- Put the armor on over dark clothes.
- Carry the noodle sword.
- Optional pro finish: tape a red crepe-paper plume to the helmet top.
Start this costume in the planner
Common questions
How do you keep cardboard armor from falling apart?
Gray duct tape hinges at the shoulders and sides, tape both sides of each joint. The tape is the armor's skeleton; the cardboard is just the skin.
What is the safest sword option?
A pool noodle wrapped in gray duct tape. It looks metallic in photos and cannot hurt anyone. Never use wood or real metal, even blunted.
More costumes like this




Explore similar ideas in the Costume Galaxy →
More cardboard builds





Want one picked for you? Take the 2-minute quiz - free, no signup.
Saving this idea? Pin it on Pinterest